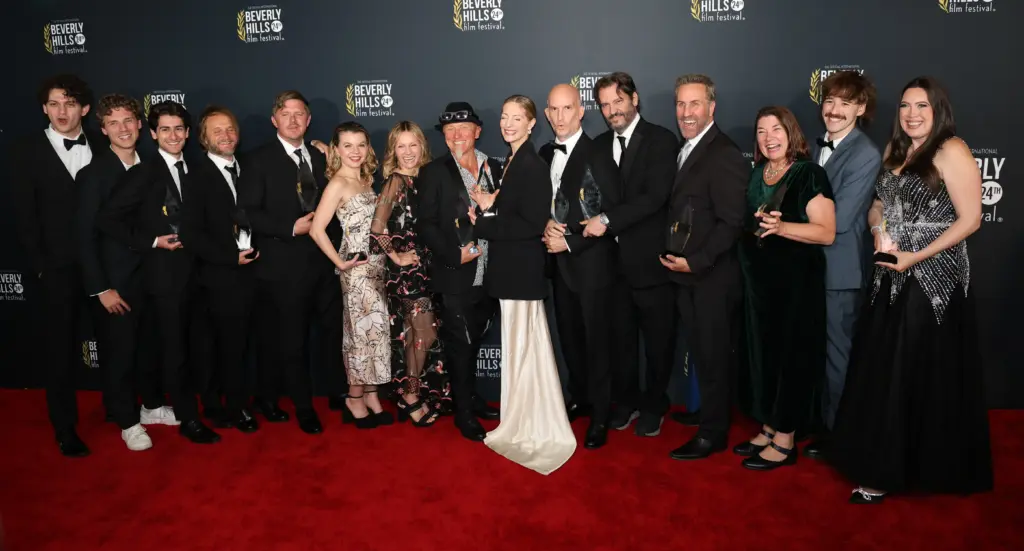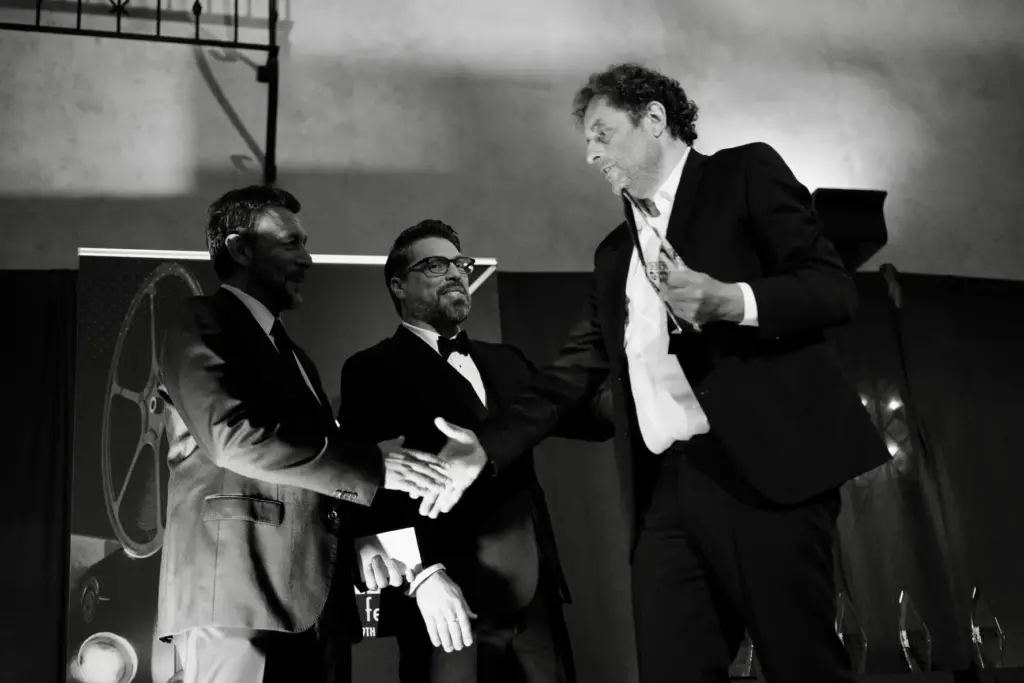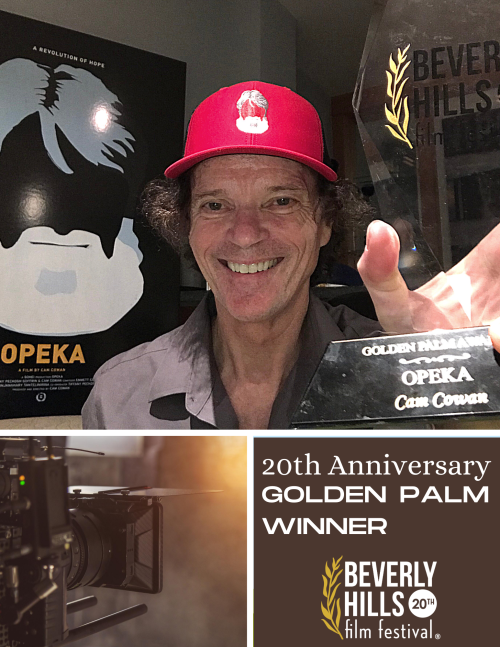
Father of Lies Premieres at the Beverly Hills Film Festival
Crooked Pictures’ short film, Father of Lies, premiered at the 16th annual Beverly Hills Film Festival at the historic TCL Chinese Theatre. More docudrama than narrative, the film is drawn word-for-word from director Levi A. Taylor‘s father’s recorded memoirs, which are also credited at the end of the film.
Levi recalls going on moose hunting trips with his father into the Alaskan wilderness. Around the campfire, his dad—a colorful figure and ex-felon turned Baptist pastor—would recount stories of his life in The Last Frontier. It was during these moments that Levi first dreamed of becoming a storyteller, inspired by his father’s tales.
Among the many stories, those that most intrigued Levi were his father’s haunting recollections of literal demonic encounters—tales he insisted were true and which he blamed for many of his life’s misfortunes. As a child, Levi found these terrifying, especially watching his grown father tremble with fear while recounting them.
Before his father’s death in 2008, Levi recorded many of these stories, including one about an encounter with a demon in the first church his father pastored after prison. Years later, Crooked Pictures teamed up with D.K. Johnston of Tri-Seven Pictures and Garrett Martin Designs to bring this memoir to life in Father of Lies, as well as other short films based on his father’s experiences.
Creating the Monster
“I knew from the start I wanted to produce our monster through practical effects,” says Levi. “As a kid, films like NeverEnding Story, Jurassic Park, and Alien fascinated me—especially their use of puppetry.”
The practical monster was brought to life under the direction of Art Director Garrett Martin. The process began with conceptual drawings, followed by the creation of a sculpted miniature maquette. The final puppet was a collaborative effort by the team at Garrett Martin Designs, including artist Denise Hill.
They began by carving the basic form from Styrofoam and covering it with warmed plasticine clay—using an impressive 40 pounds of clay just for the torso. “We had to anticipate movement and material limitations for the fiberglass casting process,” said Garrett. This was essential, as casting could destroy the clay sculpture.
The fiberglass casting succeeded, resulting in a lightweight version. The sculpture was segmented into separate molds for the head, torso, arms, and hands. Each section was molded into multiple parts, forming a plaster core that would act as the internal mold inside a hollow silicone skin.
Once trimmed and powdered, the silicone parts were assembled and mounted onto a mechanized fiberglass “skeleton.” With the help of bicycle cables and articulated joints, Garrett and his puppeteers were able to animate the creature for filming.
“The final puppet is a culmination of design and engineering,” Garrett said. “It took months of work and many helping hands to make the monster a reality. Grueling but rewarding—each stage brought high-fives and new learning experiences.”
Father of Lies is now available for viewing online at crookedpictures.com.
Monster Guide
Below, you’ll find rare behind-the-scenes images and step-by-step descriptions provided by Garrett Martin himself. Learn how this horrifying creation evolved from sketch to screen:
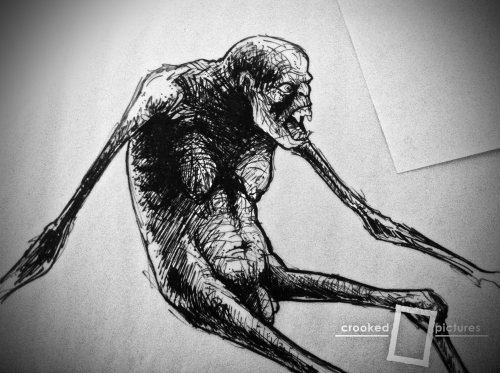
Conceptual Design
This set of images shows the first monster/demon design that Art Director, Garrett Martin, drew for Father of Lies. The two-dimensional drawing is the first step of the design process for building a puppet creature.
Once approved by the director, Levi Taylor, the design was further refined with more detailed illustrations. After the two-dimensional designs were finalized, a maquette was sculpted to work out the design in three dimensions.
A maquette is usually sculpted out of polymer clay, which is hardened in an oven and then painted. This step is essentially like building a prototype, allowing any flaws in the two-dimensional design to be identified and resolved before sculpting at full scale.

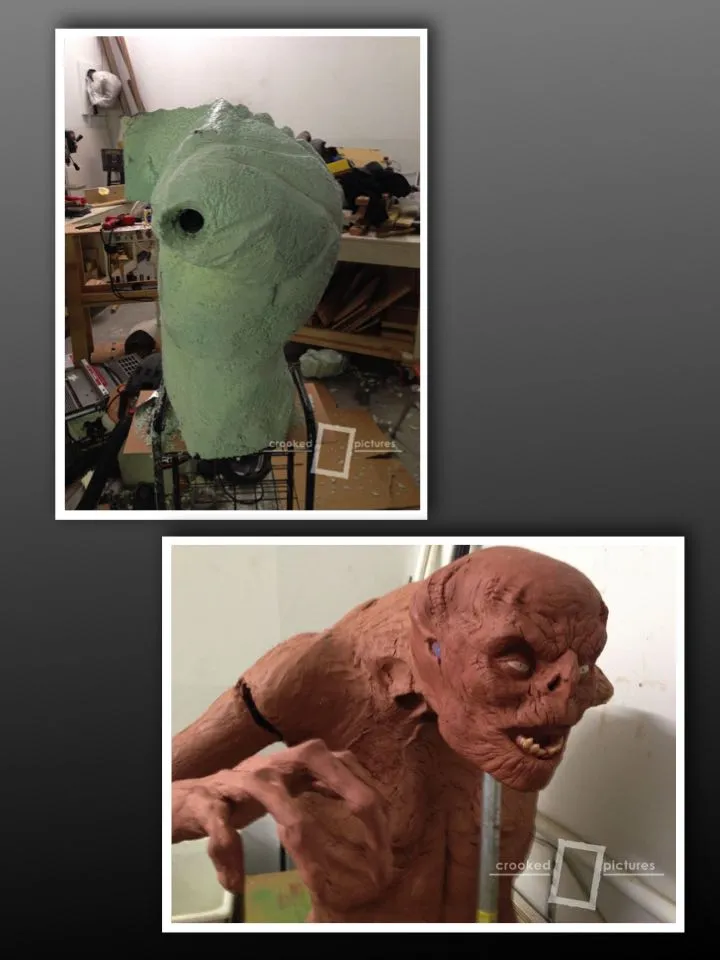
Sculpting
The next phase of production is sculpting. Garrett Martin explained that he started by carving the basic form out of styrofoam. It was important to be as accurate as possible while carving the styrofoam core, as this helped to reduce the amount of clay needed to cover the surface.
He warmed plasticine clay in small batches to increase its flexibility. Once the clay was softened, he applied it over the styrofoam core. Garrett began sculpting the monster’s larger forms first, then gradually added smaller details using a variety of sculpting tools. He continuously examined the sculpture from all angles to make sure the form was accurate.
Many decisions had to be made during the sculpting process, including how the creature would move and any limitations the final casting materials might impose. For the monster’s torso alone, Garrett used over 40 pounds of clay.
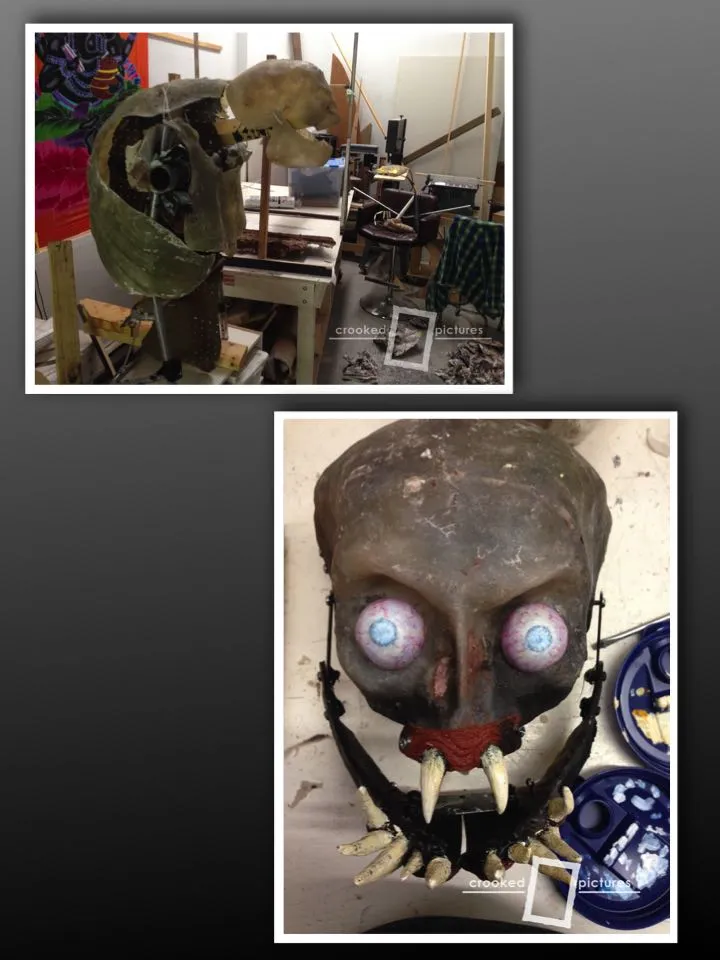
Molding
Garrett added, “Once the sculpture was finalized, I enlisted the help of friends to make a mold of the monster/demon sculpture. The mold is used to cast a replica of the sculpture in silicone. The process of molding often destroys the original sculpture, so it is imperative to take care during this process.”
“Though many materials can be used for molding a sculpture, we chose fiberglass to lessen the weight of the final mold. The sculpture was divided into several sections to allow for easy molding. The head, torso, arms and hands were each molded separately. Each mold consisted of two to three pieces. Each piece required three days of work to allow for proper curing of the fiberglass material.”
“Once each section was molded, a plaster core was created for each mold. The plaster core acts as an inner mold that, when combined with the outer fiberglass mold, allows you to cast a hollow silicone skin.”

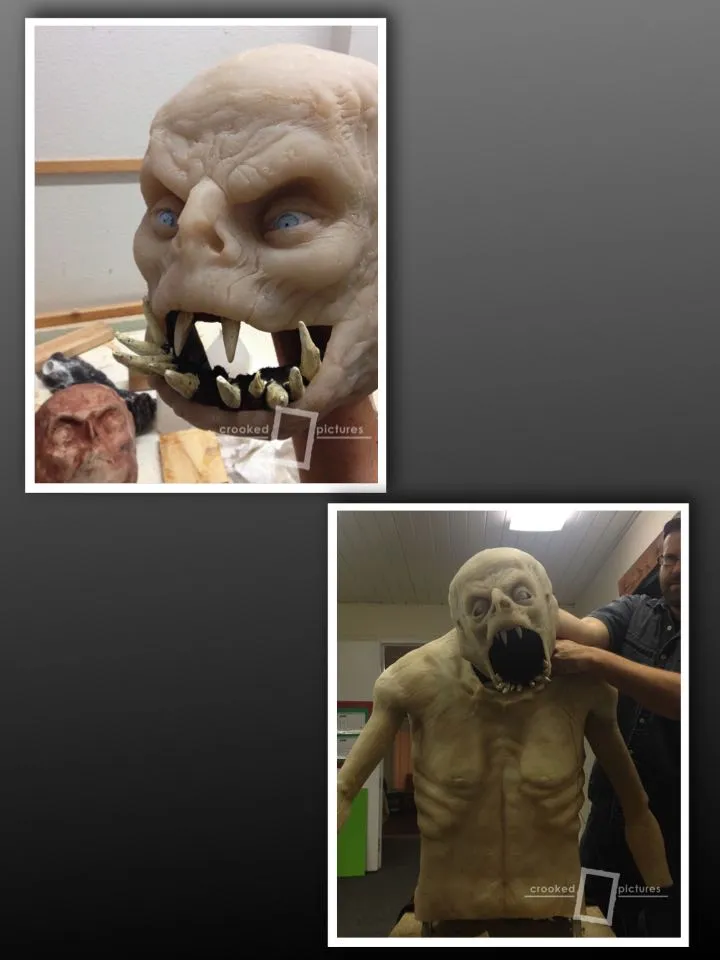
Casting
For the final cast of the monster/demon, we chose silicone for its translucency, durability and ease of use. First, we tinted large batches of silicone (first set of images). We wanted to make sure we tinted enough silicone to cast all of the pieces ensuring that the color of each piece would match each other.
Then we poured the tinted silicone into a giant syringe to inject into the mold. The silicone sat inside the mold and cured in about an hour. Opening the molds revealed the ghostly white, translucent skin of the monster/demon.
The silicone skin is powdered and seams are trimmed.

Mechanizing
After the skin has been cast, a fiberglass replica of the inner core is made and mechanized. This fiberglass core becomes a mechanized “skeleton” for the silicone skin to rest upon.
The fiberglass is cut apart and reattached with hinges. Bicycle cables are attached at key places inside the fiberglass skeleton and run out through the bottom of the creature to attach to controls allowing several puppeteers to operate it.
Final Monster
The final puppet is a culmination of design and engineering. It took months of work to make the creation come to life.
It took many helpful hands to make the monster/demon a reality. The work was often grueling, yet exciting.
Each step was a learning experience and resulted in many high fives.
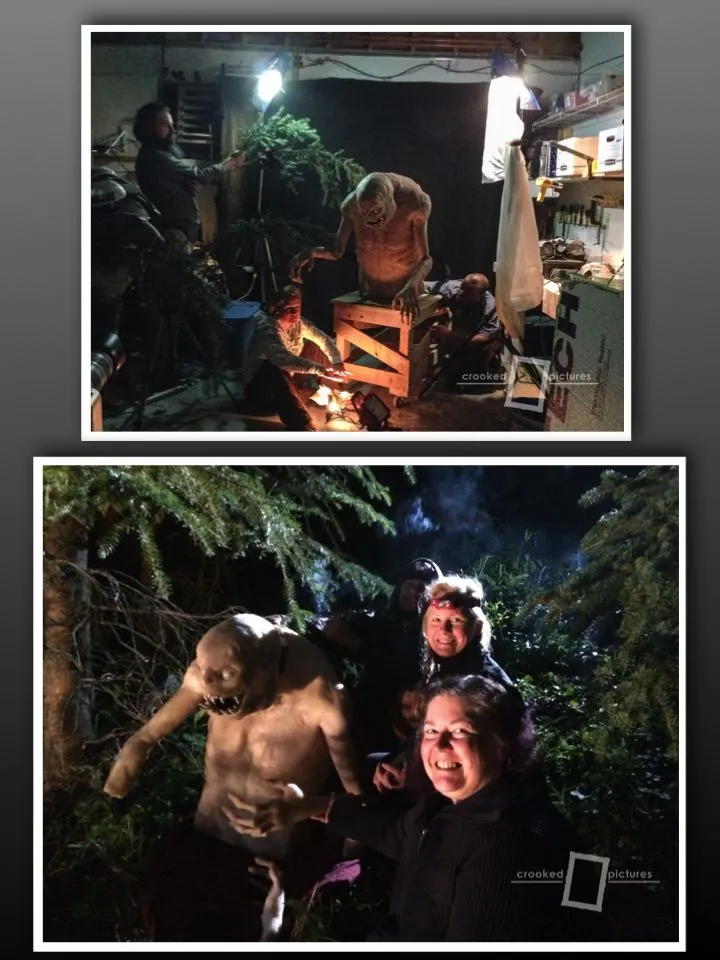
Performance
Each of the people who helped me mold and cast the puppet also helped me puppeteer the creature.
The first image shows us rehearsing with the puppet before the actual shoot.
The second image shows one of the final screen compositions with the monster/demon and the actor.